29 December 2012

Building a high gain amplifier part 1: The preamp

This has been a long time coming and will be the last ever Soldano influenced amplifier that I build.

All I'm doing here is rebuilding my original amp with a few tweaks that I have found that I prefer over the stock circuit.

First up we will start with populating the preamp board with the smaller components as it is always best to do it in height order to stop things slipping out and looking messy later.

So here we have the bridge rectifier for the channel switching circuit. It is the smallest component of the preamp therefore it is done first. Please note the polarity markings as this is critical for correct operation. The PCB also has a silkscreen that matches the markings so it's pretty hard to go wrong here.

 
And now it's time to go onto the bulk of the preamp which is the resistors. I am not going to go through these one by one as it will just be lots of repetition and there are no polarities to be concerned with so just solder away! One thing to keep in mind is that some resistors have very similar colour bandings so take your time and make sure you match them correct values up with the silkscreen.
 
 
With resistors I usually use a lead forming tool to help keep things nice and tidy.
 
And here is a nicely formed resistor ready to be soldered in. 
 
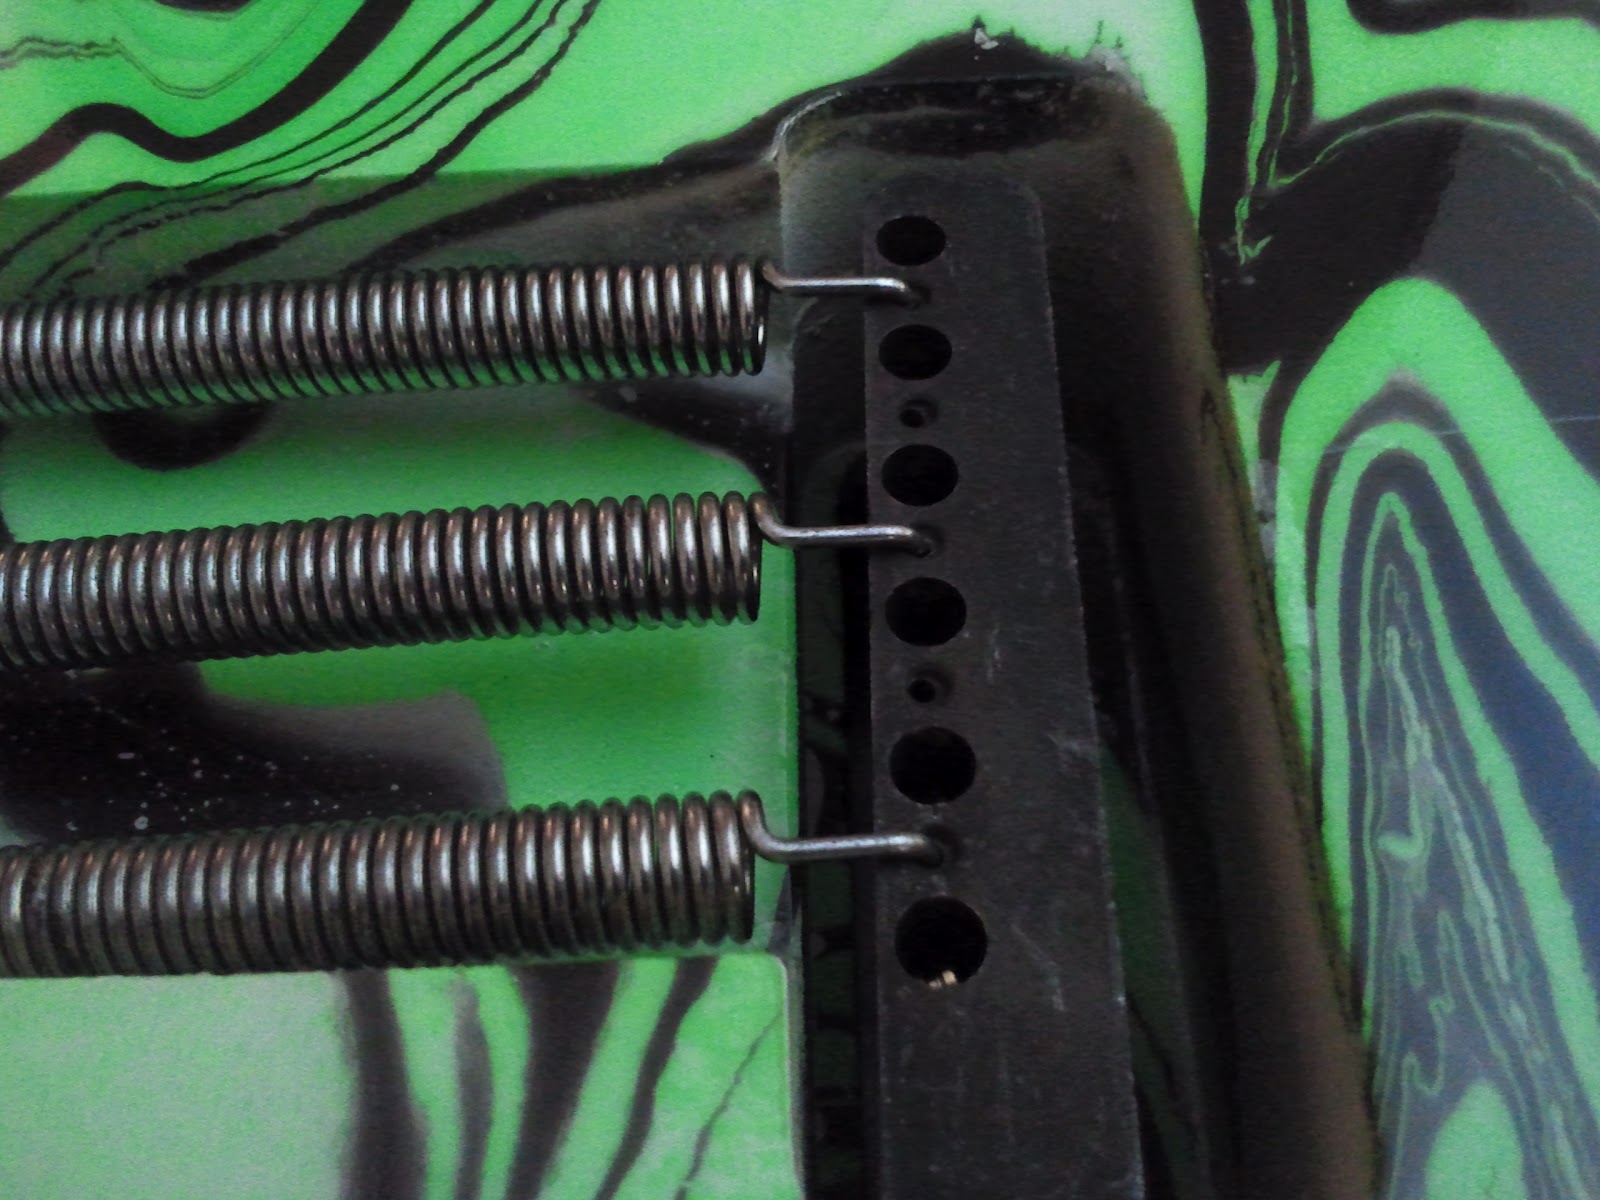
I've added a few extra shots of the preamp just for reference as to what it looks like as you go along.


In this last shot you will notice that I have left R14 blank. This resistor is the Soldano signature move, the cold clipper. It determines when the lead channel saturates and the amount of gain on tap. My reasoning for leaving this blank is that I am going to add a front panel toggle with the stock value and a lower value so that I can switch between two gain voicings as and when needed.


From here we are going to go onto the small value capacitors. For these I choose silver mica caps just because I like the way they sound over ceramics. However a cheaper ceramic cap will do a good enough job also it just depends if you want to spend the extra 30p or so.
 
These capacitors are unpolarised so again orientation isn't important here.


The last step that I am going to cover today are the three electrolytic capacitors in the preamp for the B+ & channel switching parts of the circuit.
 
These three capacitors are polarised and you really want to make sure that you get these in the right way as it isn't pretty if you power up with them the wrong way. Electrolytic capacitors failing can be very messy and sometimes dangerous. See this video for a demonstration.


As you can see the polarities are clearly marked on these capacitors making the chances of an error during installation very minimal as the PCB silkscreen also marks the polarity.

 
That is all for today but in the very near future I will be finishing the preamp in a bit more depth and also the power amp in the next post.
 
After that things will get a lot more in depth and also move into a more step by step manner as things get a little more complex.
 
If you have any questions just leave a comment and i'll do my best to answer you.


28 December 2012

Hello!


Just thought I'd introduce myself as a new contributor to this blog, and thanks to Toe-Knee for inviting me in.

I've been playing guitar and have been in bands for about 15 years now and in that time have done hundreds of gigs with both covers and original material bands. I'm also a trained Live/Studio Sound and Recording Engineer, so you could say I've been round the block a few times!

I'm nowhere near as knowledgeable as either Toe-Knee or Bob on the technical side and inner workings of amps or pedals but have in my time owned alot of and, due to my work in the studio, have come into contact with alot of different types and brands of equipment, so I think I have a pretty good ear and idea for combinations of things that will and won't work together.

Most of my contribution will come on the gear review side and I'll leave the more technical information to Toe-Knee and Bob!

Musically I'm pretty much in the 70s Rock, 80s Rock/Metal, 70s Punk and Blues side of things, even though I have been known to listen to some heavier stuff now and again, so my reviews will mainly concentrate on gear that fits into those types of genres.

Let us know if there's anything in particular you want to know about or want us to write about and we'll do our best to cover it.

Thanks!

27 December 2012

Merry christmas.

Hey guys. This is just a very brief one now that things have calmed down somewhat.

You may have noticed that we now have a new banner thanks to one of our new contributors (more on that in a bit) We have also changed the URL to WWW.BACKLINE.TK the old one will still work for a little while but be aware it isn't going to last forever so update your bookmarks.

There will be further visual updates over the next week as well as some introductory posts from our new contributors.

Saying that I would like to welcome Brow & Demonikol to the ranks which should hopefully make things a little more steady and also spread out the posts over a wider range of equipment as we all play differing genres of music therefore use differing equipment to an extent.

I hope you all had a great christmas and that you have a fantastic new year!

HAGO!
Tony

17 December 2012

The future of this blog...

I have a few things planned for the next few months after a fairly long absence. Here is a quick breakdown of the future plans and also some information on how I plan on approaching this blog after the new year.

Upcoming pedal builds
1776 Rubadub Digital Reverb - In Progress
Naga Viper Influenced Treble Booster - Jan 2013
1776 Multiplex Echo machine  - Feb 2013

Upcoming amplifier builds
SLO influenced rebuild - In Progress
Krankenstein influenced amp - March 2013

As you can see from the above list I'm hoping to get back into a regular cycle. My goal is to get at least one pedal build posted on here each month unless there is a more time consuming build going on such as an amp build then that will possibly cover two months or so but there will be regular updates.

Update 23/12/02
I have been speaking with Bob regarding the future of this blog and we have come to the decision that the blog is going to be expanded to cover a wider area of guitar related equipment and not just DIY projects.

In light of the above you can expect equipment reviews of production gear and also there will be a bit of a visual shake up and obviously a new name. Watch this space!

1776 effects Rubadub Reverb Build

Well it's been a bit quiet on the personal DIY front. I've just done a few amp builds for people but nothing that hasn't really been covered before.

However I recently got around to starting building a digital reverb using the Rubadub reverb PCB from Josh @ 1776 effects

This build is now completed but I haven't boxed it up yet so for now there are just a few in progress pictures at the bottom.

The circuit is really nice and sounds fantastic on clean sounds which is primarily what I wanted it for.

I wont be boxing this up until the weekend and still haven't decided on the graphics for it. If you have any suggestions please feel free to post a comment.

Here is a quick clip with some incredibly shoddy playing due to an injury of my fretting hand. I'll get some better ones up as soon as I can play without getting cramps in my left palm.


Here is one with just the resistors mounted. I didn't have one of the required values so used two resistors in parallel to get it where it needed to be.

And here we are with it mostly populated minus one electrolytic cap. These newer Belton reverb bricks are now small enough to fit comfortably inside a 1590b.

19 July 2012

SSB Audio Noiseless Tremolo Springs

Spring noise! I HATE it with a passion. Here is a solution!

These little things are absolutely fantastic! I have tried another "fix" in the past and had feedback from guitarist friends who have tried others so I will go over those first and the pros and cons as I found them.

Kitchen Roll/Toilet Roll
In the past I've resorted to shoving kitchen roll beneath the springs which isn't really too desirable as when you use the tremolo it gets shredded and goes everywhere. However it does completely deaden the ringing but at the expensive of high end which leaves you with a slightly muffled sound which I cannot stand.

Floyd Upgrades Noiseless Springs
These looked ideal as they claim not to affect the tone but completely remove the spring ring.
I haven't tried these personally but I have a few friends who have who I trust a lot when it comes to tone and general tech knowledge.
 They all had the exact same issue with these. The noise was gone but and this is a BIG but. It caused a grounding issue due to the coating which is potentially worse than the ringing IMHO.

Now onto the SSB Audio Noiseless Springs.
I got these on the off chance just because my new parts guitar had the worst spring ring that I have ever encountered in my life. I installed these today and recorded some before and after clips and it completely eradicated the noise and didn't alter the tone.

I must say that I am very happy and will be replacing the springs in my other trem loaded guitars ASAP with these.

Here is a link to purchase them if you feel like they could work out for you as they worked amazingly from me as you can see from the following clips.

SSB Audio Noiseless Tremolo Springs


15 July 2012

Guitar Fetish Solid Steel Trem Block

I got this purely out of curiosity to see what all the hype was about. I installed a Solid Steel block because the properties and descriptions of the Brass ones weren't to my liking.


Here is the stock block

And here is a comparison shot of the two. Its quite a significant size difference and the stock block weighs less than 1/4 of the weight of the SS one

And finally here are a couple of pictures of the block installed on the trem.


And finally a picture of it installed in the guitar.


This was marketed by Guitar Fetish as:

The result is a total transformation of your guitar for UNDER TWENTY BUCKS!! Come on!! Sustain is increased noticeably, tone is like NIGHT AND DAY, even tuning stability is just a hair better. You can't NOT buy this!!

After installing it and playing for just a few minutes I agree entirely. They missed out a few points though. The low end is punchier and the midrange is a lot snappier with a crisp high end. In general the tone is a lot more full and percussive.

The marketing gumph is slightly incorrect though as the block itself is actually $21.95! But still for the tonal increase you really cant argue and you would be a mentalist to not at least try it at the above price.


8 June 2012

Soldano influenced High Gain Amplifier Build. Now with Audio sample

This again is a follow up from the modded preamp that I did around December.

Because I've done similar builds before on here I will just post a few pictures from the build.

It turned out incredibly quiet. Elevating the heaters is an invaluable approach that really should be in every amp as it's so inexpensive and effective. I can confidently say that the noise floor in this amp is considerably lower than most production amps!

I removed one of the mods that I originally did as I found that I preferred the amp with less saturation than what the mod produced.


First up we have a few shots of the preamp that's populated with Mallory 150 Caps, Sprague & F&T Electrolytics and Vishay & Panasonic Resistors.


Here we have the spot where there would usually be a Faux Centre Tap but I got the transformer built with an actual center tap so this is just a handy spot to bridge the heaters.


This is the wire that comes from the heater tap and goes to V5 pins 4,5 & 9


This photo shows the input jack wiring and also the Clean/Crunch & Bright switch.


Here we have the power valves and also the rear panel bias test points and adjustment pot.


Here's the amp before installing the preamp.


This is the same as above but with the preamp PCB bolted in before wiring. I call this one the "Angry Porcupine" stage.


Here we have the cab outputs and the impedance selector. You can also see a 47k coming from the 8ohm tap this goes to the Slave Out circuit which is an amazing addition to any amp as it allows for wet/dry setups and also direct out recording that includes the entire power amp that you can use with cabinet implses for a very clear and punchy sound.


Here is the above mentioned Slave Out pot & Jack.


Here is the power amp! I carefully selected these capacitors for their ripple rating to keep the amp really tight and precise.


Here is the effects loop. There isn't really much to say about it really.


And here is a close up of the V1 & V2 wiring.


And here is the entire amp fully wired up. Now that it is confirmed and working as intended I will go back and shorten some wires and tie wrap some of them to make it generally neater.


And the finished amp!


Here is a quick audio clip.Enjoy!


8 May 2012

Swirley Shirley MkI

Well i've got this knocked together in a temporary state.

The neck is a temporary one that I got on ebay for £18! Complete bargain. It has a great playability and as an added bonus has a brass nut. It has had a repair behind the headstock that has been done very well and also is a 54mm heel rather than the required 55.5mm.

The bridge is also a cheapo from eBay that is surprisingly good and will do the job until the Kahler 2710 arrives.

Back onto the pickups. They are all entwistles being HVX in the bridge. The single coil is the XS62 and the neck is the HVX neck. They are all very nice they are very 80s sounding but are not quite 100% what I want as i prefer more high end presence and and a faster more precise low end.

I do have plans on trying other pickups in this guitar from both Bulldog pickups & The Creamery.

I will get some clips done for the next post regarding this when the guitar is in MKII.

Now here's a few pictures

Here's a quick shot of me playing it. you can see the gaps at the side of the neck.

This photo shows how well the clear coating turned out.

Ignore the twisted B & E strings here I had to take the neck off to adjust the truss rod and didn't realise before taking the photo.

This one shows just how amazingly vibrant the DR neons are and as a bonus they sound and feel amazing too.

29 March 2012

Let me introduce you to Swirley Shirley!

Here is a little something that I am going to be putting together over the next few months.


I got the body from Out of this swirled. I looked at it on the website for a good while and then just bought it as I noticed they are closing down and I didn't want to miss out.

This is going to be a more rock oriented guitar as my others are very metal so this will be a nice change.

Its American Red Alder and I am planning to pair it with a Kramer classic replacement neck with the beak style headstock.

The neck will be a single piece of flame maple with black dots for fret markets.

I will probably grab a set of custom Bulldogs for this also as there isn't really much else on the market that appeals to me or is good value for money.

I have also decided to load this with a Kahler trem which is going to be another new experience for me as i've strictly used hardtails & FR type trems in the past.

I am just about to pack the body up to send it off for clear coating and hopefully I will have decided on the neck spec and have it on the way by the time I get the body back.

InMadOut Transformers - Soldano Replacements.

This post is a follow on from the heavily modded SLO post which can be found here.

I had a few reasons for choosing these transformers. The main one being that I am building this amp around a dual KT88 Power section and these transformers are perfectly specced for the application.

These were made to order and had a very short lead time of around 10 days which is another fantastic reason to use these.

There was a bit of the impregnation resin on one of the endbells which I cleaned off but it also took a bit of the black paint off too so i'm possibly going to dissasemble these and spray them matte black.

The power transformer is an absolute beast!


So now all that i'm waiting on for this build is the chassis & a headshell that I am getting custom made.

Hopefully there will be more posts soon.

4 February 2012

Dave's Custom Amp - None More Black! Updated: Thursday 8th March 2012

THIS AMP IS NOW FINISHED!

Well here is a little something i'm putting together for a friend of a friend!

So far all the pcbs are populated and the chassis & headshell are in which I am going to prepare for the final build steps this weekend.

The transformers should hopefully be here in the middle of next week.

The spec is as follows

50w
Sprague Orange Drops
Vishay CCF60/ Koa Speer & Panasonic Resistors
Sprague Atom, F&T, Nichicon Muse Electrolytics
Onetics Hi Def Output Transformer
Onetics Custom Power Transformer
Onetics 5H Choke
SLO style Chassis & Headshell - none more black.

And here are a few pictures of whats been done so far.

Resistors Populated Vishay CCF60 1% MF for ultra quiet operation.

Panasonic Power Resistors.

Full preamp resistor population shot.

F&T Electrolytic Capacitors added

Sprague Orange Drop 715p/225p Capacitors

Sprague Atom Electrolytic Capacitor

This one is pretty much the entire preamp populated

Power amp Using Nichicon Muse Series Electrolytics & UF5408 Diodes

Vactec VTL5C1 Optocouplers for Silent & Instantaneous channel switching

Recton DB101 Bridge Rectifier for the channel switching voltage rectification

The Headshell when it arrived

This headshell needs a little adjustment. The front grill sits about 11mm too far forward.


And that is all for now. I shall update this post as and when things happen which should be a fair amount over the coming week.

Update: Sunday 19th February
I started work drilling the chassis today should hopefully get the amp finished by the end of the week.

This one is a fairly boring update as not much went on as this part takes quite some time as I countersunk the holes by hand as I find it a lot easier to do it accurately this way.

The reason for countersinking all the board mounting holes is so that the transformers can sit flush against the chassis.

Transformer Drilling #1

Transformer Drilling #2


Update: Friday 24th February
I managed to get a good amount done today, the amp is mainly wired up im just waiting on the preamp & power amp valve sockets as the ones I had didn't quite fit the chassis or they were the wrong pin orientation for how I wanted to do the wiring.

All that's left to do now is wire up all the heaters/valve sockets and wiring the actual circuitry in.

The Pot Shot!

Faux Center Tap

Lamp Wiring #1

Lamp Wiring Close Up #1

Lamp Wiring Close Up #2

Clean/Crunch & Bright Switch Wiring. This part needs redoing.

Pot Wiring

 Transformers Mounted

Clean/ Crunch, Bright & Channel Switches

Power, Standby Switches & Lamp

Onetics Power Transformer Hookup Schematic 

Power Amp Wiring


Preamp Wiring #1

Preamp Wiring #2 In this photo you can also see a wire joining to the preamp PCB mounting post this is coming from an RF cap that is just an extra measure that I was made aware of by my co blogger Bob that just stops those annoying radio frequencies that can sometimes be picked up by guitar cables.

Pot Wiring & Effects Loop
 

Test Run #1

Final Assembly 

 Front Right. You can see in this picture that the front panel now perfectly lines up with the front of the chassis.

Rear Right 

Signature 


This one is just for the sake of it really. These two amps are practically the same circuit wise the main differences being mine (the white one) is running on JJ E34L and Daves is running on JJ 6l6GC so it's kinda the evil twin scenario!


And here is the final shot of the amp in my posession where it went through around 8 hours of constant play testing at a range of volumes (which my gerbils weren't too happy about when it got higher)
 

Dave is coming to pick up the amp this evening after a 6 hour tattooing session and is extremely excited.