THIS AMP IS NOW FINISHED!
Well here is a little something i'm putting together for a friend of a friend!
So far all the pcbs are populated and the chassis & headshell are in which I am going to prepare for the final build steps this weekend.
The transformers should hopefully be here in the middle of next week.
The spec is as follows
50w
Sprague Orange Drops
Vishay CCF60/ Koa Speer & Panasonic Resistors
Sprague Atom, F&T, Nichicon Muse Electrolytics
Onetics Hi Def Output Transformer
Onetics Custom Power Transformer
Onetics 5H Choke
SLO style Chassis & Headshell - none more black.
And here are a few pictures of whats been done so far.
Resistors Populated Vishay CCF60 1% MF for ultra quiet operation.
Panasonic Power Resistors.
Full preamp resistor population shot.
F&T Electrolytic Capacitors added
Sprague Orange Drop 715p/225p Capacitors
Sprague Atom Electrolytic Capacitor
This one is pretty much the entire preamp populated
Power amp Using Nichicon Muse Series Electrolytics & UF5408 Diodes
Vactec VTL5C1 Optocouplers for Silent & Instantaneous channel switching
Recton DB101 Bridge Rectifier for the channel switching voltage rectification
The Headshell when it arrived
This headshell needs a little adjustment. The front grill sits about 11mm too far forward.
And that is all for now. I shall update this post as and when things happen which should be a fair amount over the coming week.
Update: Sunday 19th February
I started work drilling the chassis today should hopefully get the amp finished by the end of the week.
This one is a fairly boring update as not much went on as this part takes quite some time as I countersunk the holes by hand as I find it a lot easier to do it accurately this way.
The reason for countersinking all the board mounting holes is so that the transformers can sit flush against the chassis.
Transformer Drilling #1
Transformer Drilling #2
Update: Friday 24th February
I managed to get a good amount done today, the amp is mainly wired up im just waiting on the preamp & power amp valve sockets as the ones I had didn't quite fit the chassis or they were the wrong pin orientation for how I wanted to do the wiring.
All that's left to do now is wire up all the heaters/valve sockets and wiring the actual circuitry in.
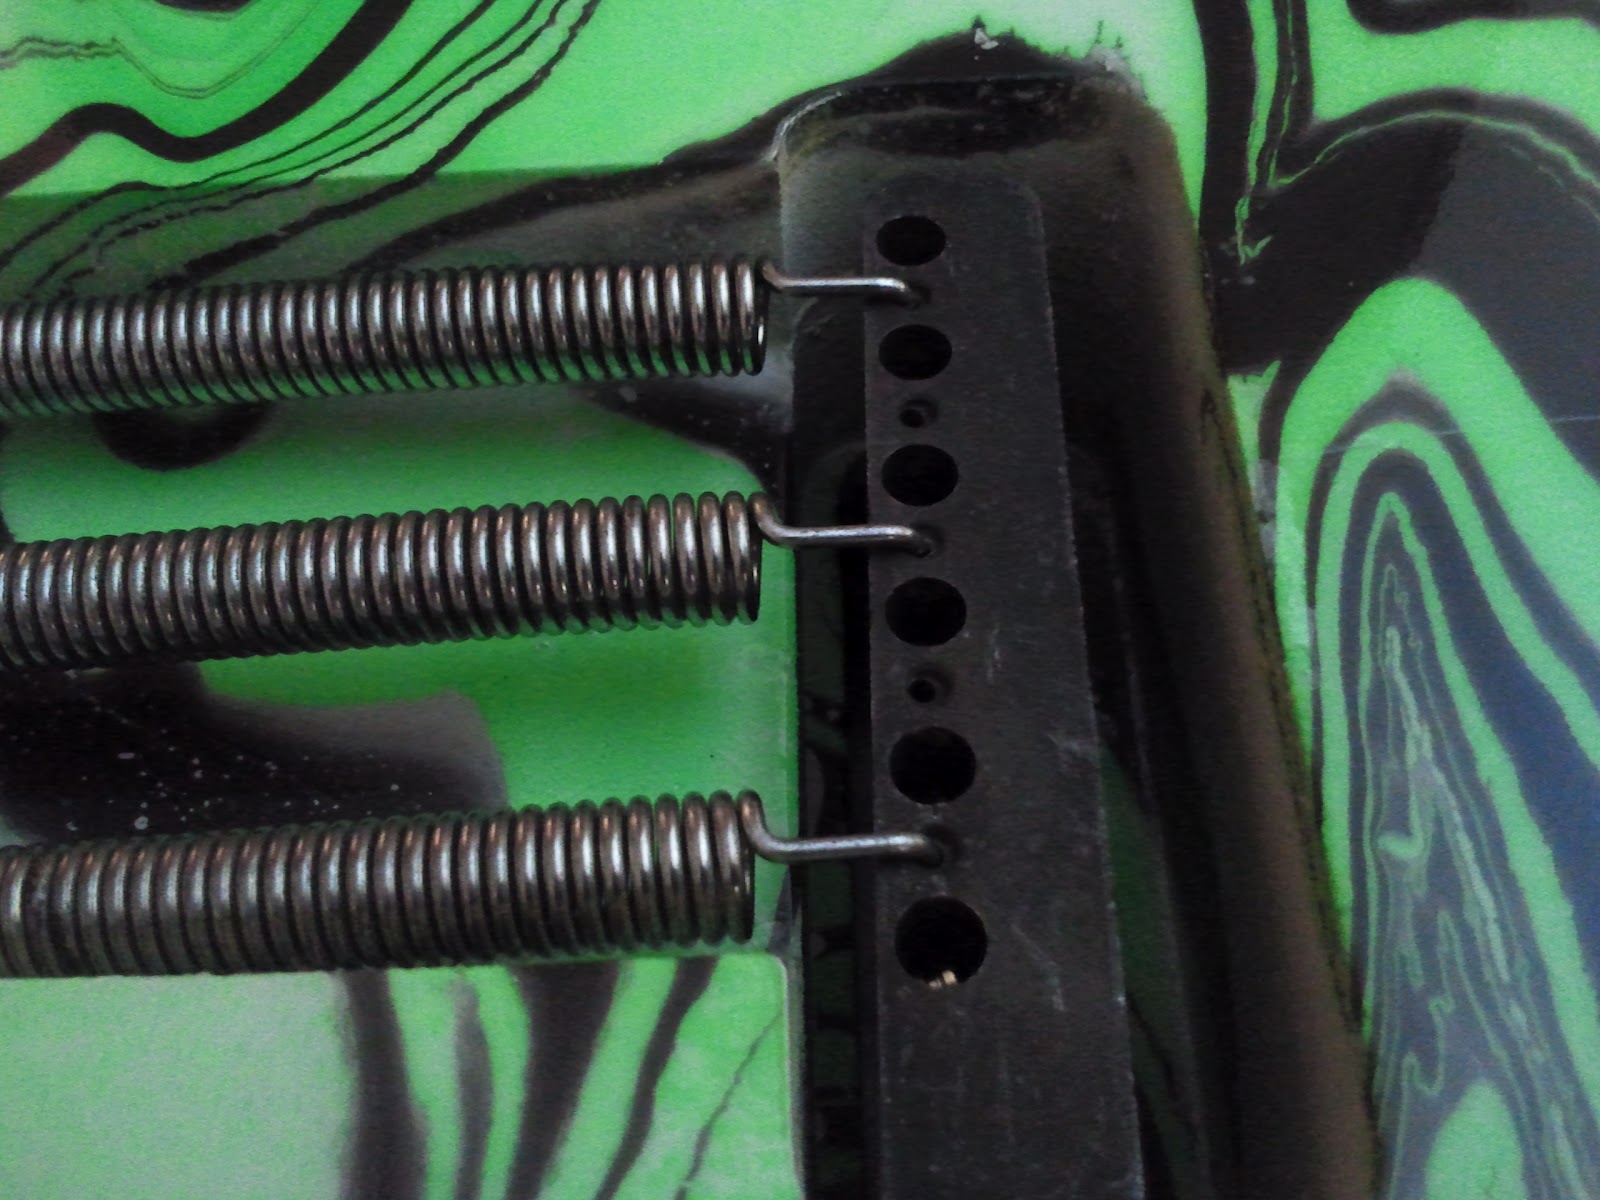
The Pot Shot!
Faux Center Tap
Lamp Wiring #1
Lamp Wiring Close Up #1
Lamp Wiring Close Up #2
Clean/Crunch & Bright Switch Wiring. This part needs redoing.
Pot Wiring
Transformers Mounted
Clean/ Crunch, Bright & Channel Switches
Power, Standby Switches & Lamp
Onetics Power Transformer Hookup Schematic
Power Amp Wiring
Preamp Wiring #1
Preamp Wiring #2 In this photo you can also see a wire joining to the preamp PCB mounting post this is coming from an RF cap that is just an extra measure that I was made aware of by my co blogger Bob that just stops those annoying radio frequencies that can sometimes be picked up by guitar cables.
Pot Wiring & Effects Loop
Test Run #1
Final Assembly
Front Right. You can see in this picture that the front panel now perfectly lines up with the front of the chassis.
Rear Right
Signature
This one is just for the sake of it really. These two amps are practically the same circuit wise the main differences being mine (the white one) is running on JJ E34L and Daves is running on JJ 6l6GC so it's kinda the evil twin scenario!
And here is the final shot of the amp in my posession where it went through around 8 hours of constant play testing at a range of volumes (which my gerbils weren't too happy about when it got higher)
Dave is coming to pick up the amp this evening after a 6 hour tattooing session and is extremely excited.